Crochet edging for dish cloth is a splendid way to add a touch of finesse and functionality to your kitchen essentials.
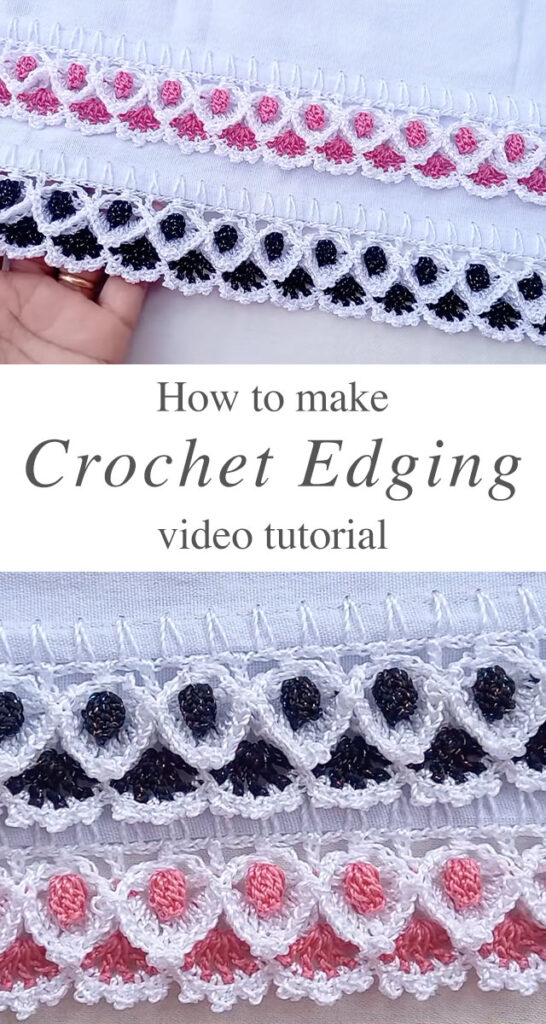
The Crochet Edging for Dish Cloth tutorial is a simple yet effective way to elevate the look and functionality of your handmade or store-bought dish cloths. Adding a border not only gives the cloth a neat, finished appearance but also reinforces the edges, helping to prevent fraying and prolong the lifespan of the cloth. This type of project is perfect for beginners because it requires only basic stitches and allows you to practice working evenly around a rectangular or square shape.
The most common edging styles for dish cloths include the single crochet border, scalloped edge, and picot trim. A single crochet edge is the simplest option, involving a round of single crochets worked evenly around the cloth, often with three stitches in each corner to maintain shape. For a more decorative look, the scalloped edge adds gentle curves by alternating groups of double crochets, while the picot trim introduces tiny points along the border for a dainty, lace-like effect. These stitches not only enhance the visual appeal but also offer added texture and grip, which can be useful in kitchen settings.

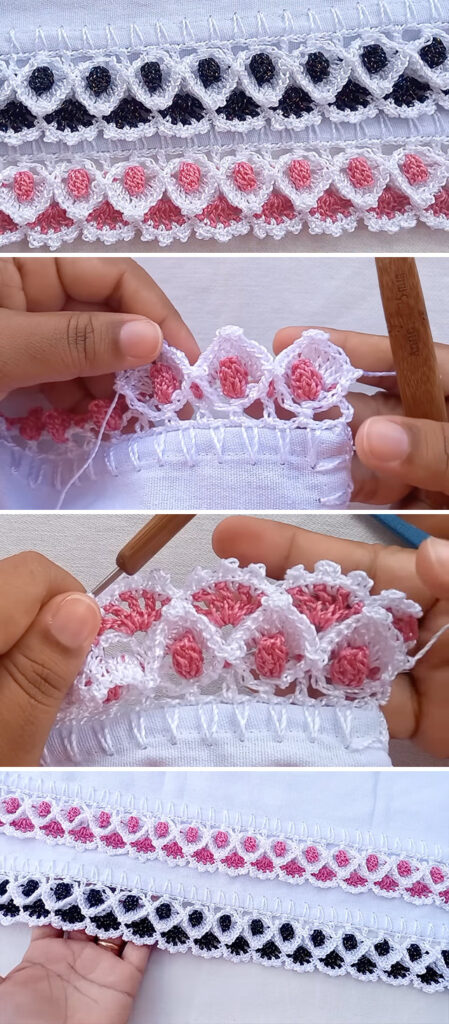
Yarn choice plays a key role, especially for dish cloths. Cotton yarn is typically used for its absorbency and durability, and the same yarn is often used for the edging to keep the piece cohesive and practical. Many tutorials also include tips on maintaining consistent stitch spacing along the cloth’s edge, especially when working into the sides of rows. The process is quick and satisfying, often taking less than an hour, and the finished result is a polished, custom look that turns a simple cloth into a charming and gift-worthy item.
Tutorial and photos of this edging by: Renata Chaves Artes.