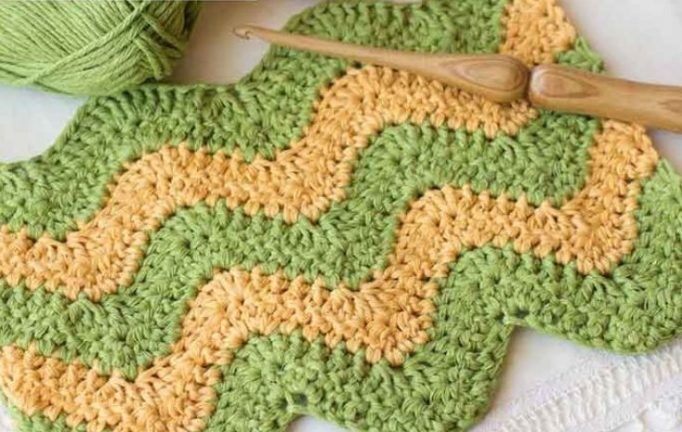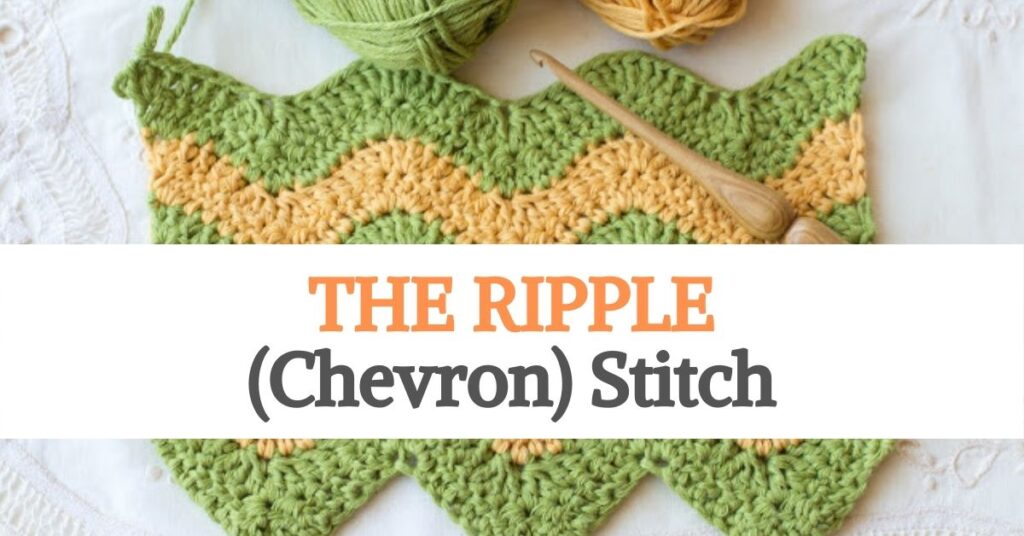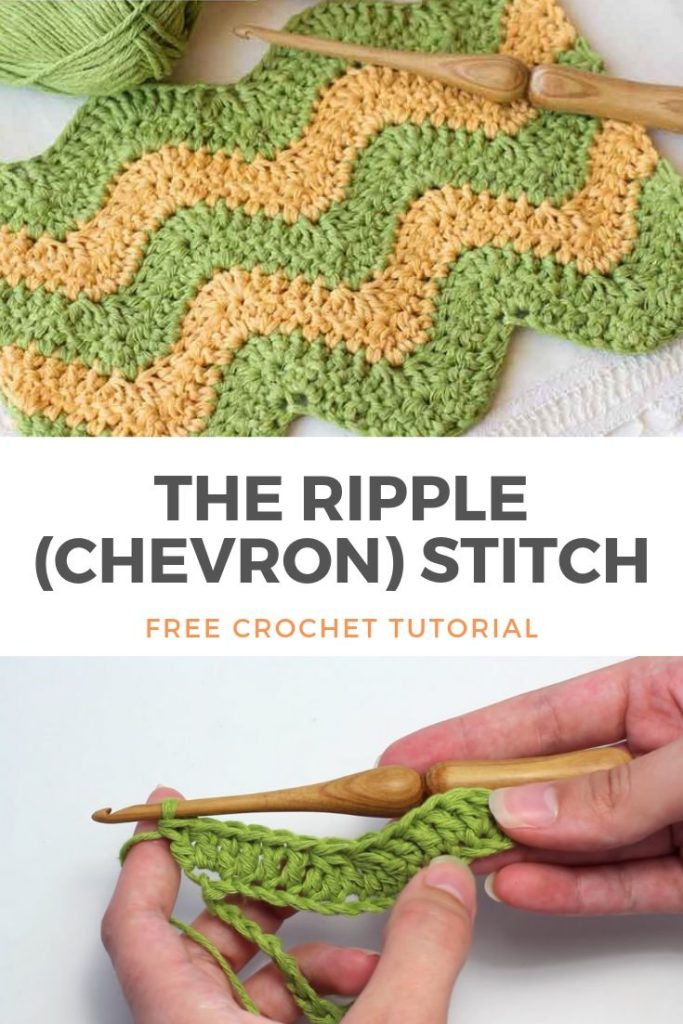
The Ripple Stitch, also known as the Chevron Stitch, is a classic crochet technique that creates a beautiful wave-like or zigzag pattern. It’s visually striking and commonly used in projects like blankets, scarves, and throws. The ripple effect is achieved by combining increases and decreases in a repeating pattern, which gives the fabric its signature peaks and valleys. Despite its detailed appearance, this stitch is quite easy once you understand the basic structure.

To begin crocheting the ripple stitch, start with a foundation chain in multiples of a set number (commonly 12) plus a few additional chains for turning. The pattern typically involves a series of double crochets, where you make multiple stitches into one chain to form a peak, and skip stitches or work two together to create a valley. For example, you might work 3 double crochets in a row, then do a double crochet decrease, followed by 3 more double crochets, then an increase (2 double crochets in the same stitch), and repeat. This back-and-forth motion builds the chevron shape.

What makes the ripple stitch so fun is how customizable it is. You can adjust the height of the peaks, the number of stitches between them, or change colors every few rows for a bold striped effect. It’s an excellent stitch for showcasing color transitions in variegated yarn or for creating vibrant rainbow patterns. Once you’ve practiced a few rows, the rhythm becomes intuitive, and it’s a satisfying pattern that works up quickly while delivering a striking visual impact.
Pattern and tutorial by HopefulHoney