Here’s a fresh and simple knitting pattern for a cozy Sweater with a clean design, perfect for beginners to intermediate knitters. This pattern features a simple stockinette stitch body with a garter stitch edging for a smooth finish.
Materials:
- Yarn: Worsted weight yarn (about 800-1000 yards, depending on the size)
- Needles: US size 8 (5mm) straight needles (for body) and circular needles (for neckband and sleeves)
- Tapestry needle (for weaving in ends)
- Scissors
Abbreviations:
- CO = Cast on
- K = Knit
- P = Purl
- K2tog = Knit 2 together (decrease)
- BO = Bind off
- M1 = Make 1 (increase)
- PM = Place marker
- SM = Slip marker
- RS = Right Side
- WS = Wrong Side
Instructions:
1. Cast On and Ribbing (Bottom Edge):
- CO 80-100 stitches, depending on your size (for a medium size).
- Work in a K2, P2 ribbing for 2-3 inches.
2. Body (Stockinette Stitch):
- Switch to stockinette stitch (knit all stitches on the right side, purl all stitches on the wrong side).
- Knit until the body measures approximately 12-14 inches (or desired length from the cast-on edge).
3. Shaping the Armholes:
- At the beginning of the next row, divide your work into front and back sections. You can use markers to help you keep track of the sections:
- For a size medium: K40 (back), turn work around.
- Work back and forth on the 40 stitches for the back, and set aside the 40 front stitches.
4. Back of Sweater:
- Continue knitting the back section in stockinette stitch until it measures about 7 inches from the armhole.
- Shape the neckline: On the next row, knit the first 15 stitches, and then BO 10 stitches for the neck. Knit to the end.
- Continue knitting each side of the neckline separately until both pieces match in length, then BO the remaining stitches.
5. Front of Sweater:
- For the front section, follow the same instructions as the back until you reach the desired neckline depth.
- To shape the neckline, bind off 10 stitches at the center of the front, then continue knitting each side of the front separately. Work until the sides are even and match the back in length.
6. Sleeves (Make 2):
- CO 40 stitches for the sleeve.
- Work in K2, P2 ribbing for 2 inches.
- Switch to stockinette stitch and increase 1 stitch on each side every 4th row until you have 60 stitches.
- Continue knitting the sleeves until they are the desired length (usually about 16-18 inches).
- Shape the sleeve cap: Bind off 6 stitches at the beginning of the next 2 rows (you should now have about 48 stitches).
- Continue to decrease 2 stitches every 4th row until you have 24 stitches remaining.
- Bind off the remaining stitches.
7. Shoulder Seams:
- Using a tapestry needle, seam the shoulder seams of the front and back pieces together.
8. Neckline:
- Pick up stitches around the neckline (approximately 60-80 stitches, depending on the size) using a circular needle.
- Work in K2, P2 ribbing for about 2 inches, then bind off loosely.
9. Sleeve Seams:
- Seam the sleeves to the body of the sweater using the mattress stitch, making sure the seams are aligned properly.
10. Final Finishing:
- Weave in any loose ends with your tapestry needle.
- Block the sweater to shape and smooth out the fabric.
Optional Design Tweaks:
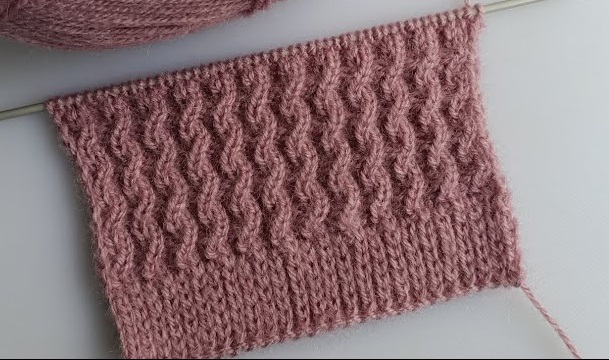
- You can add stripes, texture patterns, or cables to the body or sleeves to give the sweater a unique touch.
- For a more fitted look, you can adjust the number of stitches in the body or sleeves and add waist shaping.
Conclusion:
This simple sweater pattern is comfortable and customizable. Whether you’re knitting it for yourself or as a gift, it’s a cozy, versatile addition to any wardrobe. Enjoy the process of creating a handmade, thoughtful piece, and feel free to play with yarn colors or textures for a personalized touch!