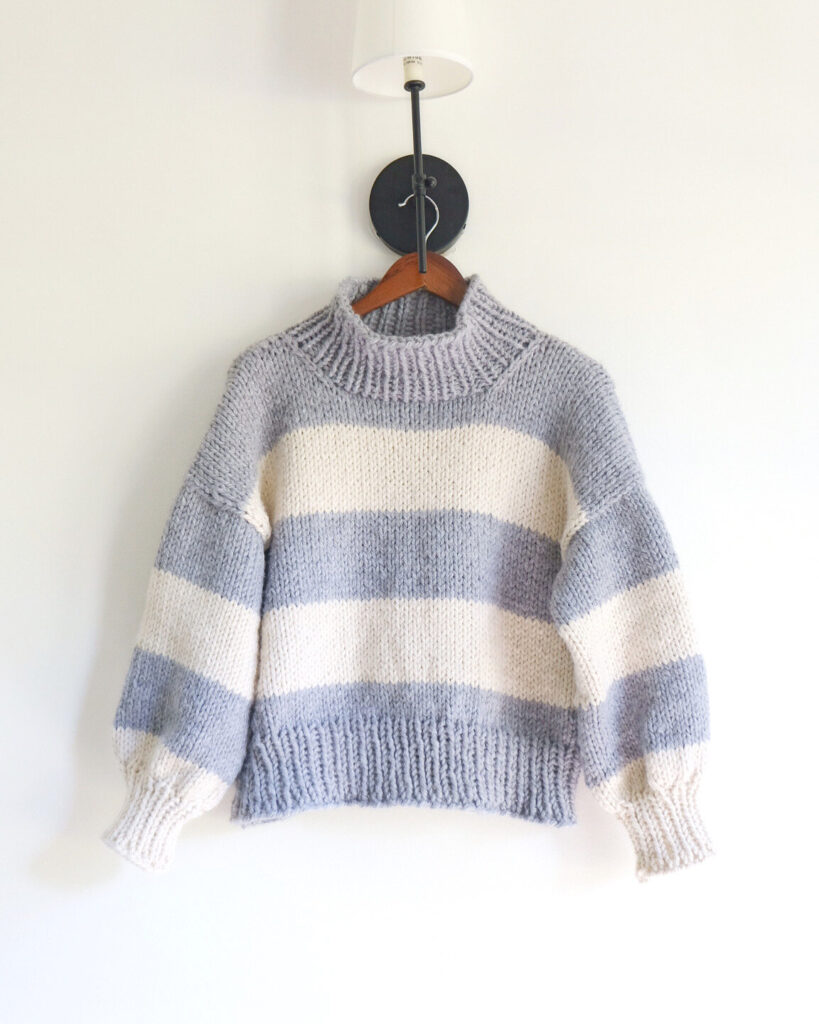
Here’s a step-by-step tutorial for an oversized chunky knit sweater, perfect for beginners or knitters looking for a quick project. The chunky yarn makes it a fast and cozy knit, and the oversized fit ensures comfort and style. This pattern is designed to be knit flat on straight needles.
Materials:
- Yarn: Chunky weight yarn (approximately 800–1200 yards, depending on size)
- Needles: US size 15 (10mm) straight needles
- Tapestry needle (for weaving in ends)
- Scissors
Abbreviations:
- CO = Cast on
- K = Knit
- P = Purl
- K2tog = Knit 2 together (decrease)
- BO = Bind off
- RS = Right Side
- WS = Wrong Side
Size:
- This sweater is designed to be oversized. Sizes can be adjusted by adding or removing stitches, but the following instructions are for a medium to large fit (chest size 38-42 inches).
Gauge:
- 10 stitches = 4 inches in stockinette stitch (knit all rows).
Instructions:
1. Cast On:
- CO 80 stitches (or adjust to fit your desired width, based on gauge).
- This will create the back panel of the sweater.
2. Ribbing (Bottom Edge):
- Row 1 (RS): K2, P2 across the row.
- Row 2 (WS): K2, P2 across the row.
- Repeat these two rows until the ribbing is 2-3 inches long.
3. Body (Stockinette Stitch):
- Switch to stockinette stitch:
- Knit all stitches on the right side (RS).
- Purl all stitches on the wrong side (WS).
- Continue knitting until the piece measures about 20-22 inches from the cast-on edge, or until it’s long enough to cover the desired length of your torso. This will be the back panel of the sweater.
4. Front Panel:
- To knit the front panel, CO 80 stitches (same as the back).
- Repeat the ribbing section for 2-3 inches.
- After ribbing, continue in stockinette stitch just like the back panel until it measures the same length as the back panel (around 20-22 inches). This will be the front panel of your sweater.
5. Shaping the Neckline:
- Once you’ve reached the length of the back, it’s time to shape the neckline:
- At the center of the front panel, BO 10 stitches (this creates the neckline opening).
- Continue knitting each side separately, working both sides of the front panel until they match the back panel in length (about 20-22 inches).
- After you’ve completed the front and back panels, bind off all remaining stitches.
6. Sleeves (Make 2):
- CO 40 stitches (or adjust to fit the size you need).
- Work in ribbing (K2, P2) for about 2-3 inches for the cuff.
- Once the cuff is done, switch to stockinette stitch and continue knitting until the sleeve is about 18-20 inches long, or to your desired sleeve length.
- To shape the sleeve cap, you will decrease to taper it:
- Row 1 (RS): K2tog across the row until you have 30 stitches remaining.
- Row 2 (WS): Purl all stitches.
- Row 3 (RS): K2tog across the row until you have 20 stitches remaining.
- Row 4 (WS): Purl all stitches.
- Continue this process until you have about 10-12 stitches remaining.
- BO all stitches to finish the sleeve.
7. Assembling the Sweater:
- Join the shoulders: Use a tapestry needle to sew the front and back panels together at the shoulder seams.
- Attach the sleeves: Seam the sleeve cap to the armhole of the body. You may want to fold the sleeve cap slightly to help it fit better, but since this is an oversized sweater, it won’t need to be too fitted.
- Side seams: Seam the sides of the sweater from the bottom ribbing to the sleeve edge using mattress stitch or whip stitch.
8. Finishing the Neckline:
- Pick up stitches around the neckline using a circular needle.
- Work in K2, P2 ribbing for about 2-3 inches for the neckband.
- BO the stitches loosely for a stretchy neckline.
9. Weaving in Ends:
- Weave in all loose ends using a tapestry needle.
Optional Additions:
- Pocket: You can add a patch pocket by knitting an additional small square in stockinette stitch, then sewing it onto the front panel.
- Color-blocking: Use different colors of yarn to create a color-blocked look for the body or sleeves of the sweater.
- Stripes: Add stripes by changing yarn colors every few inches to create a fun, modern design.
Conclusion:
This oversized chunky sweater is the ultimate cozy piece for chilly weather! With a simple construction and easy-to-follow steps, you’ll have a warm, stylish sweater in no time. It’s perfect for layering and looks great with jeans or leggings for a comfy, casual look. Enjoy your new handmade cozy sweater!
Tutorial by : https://www.youtube.com/watch?v=SZyJdzHh_kg