Creating your own crochet placemat is a fun and practical project that adds a handmade touch to your dining table. Whether you want something rustic, elegant, or playful, a placemat is a perfect beginner-friendly way to explore stitches and color combinations. In this guide, we’ll walk you through each step—from choosing materials to the final finishing touches—so you can crochet a placemat you’ll be proud to show off.

Begin by selecting a durable, easy-to-clean yarn—cotton is ideal for placemats because it’s absorbent and holds its shape well. Choose a hook size that matches your yarn’s label recommendation, typically around 4mm to 5.5mm for worsted weight cotton. You’ll also need scissors, a yarn needle, and a ruler or measuring tape. With your materials ready, you’re set to start chaining and building your foundation row.
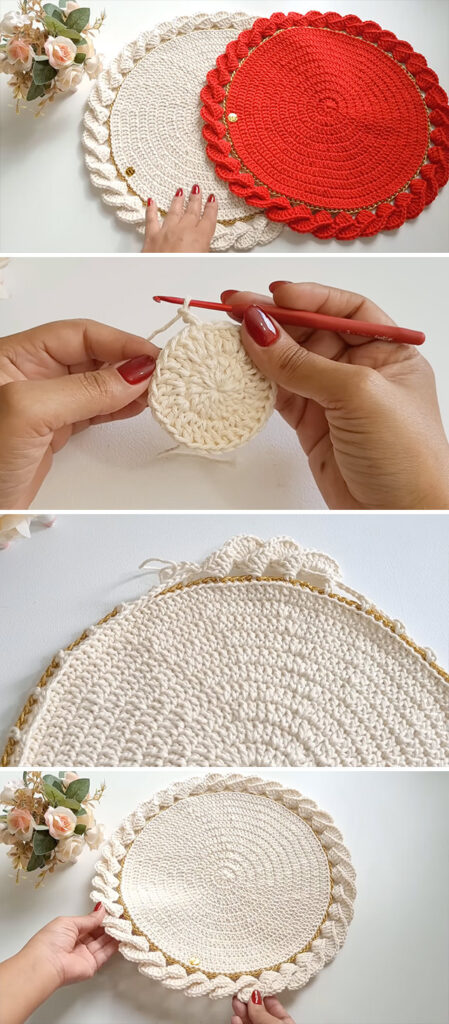
Once your foundation is complete, it’s all about choosing a stitch pattern that suits your style. Simple stitches like single crochet, half-double crochet, or the moss stitch work beautifully and create a nice flat surface. You’ll crochet back and forth in rows until your placemat reaches the desired length—usually around 12 x 18 inches. Along the way, we’ll show you how to keep your edges straight and your tension even for a clean, polished look.
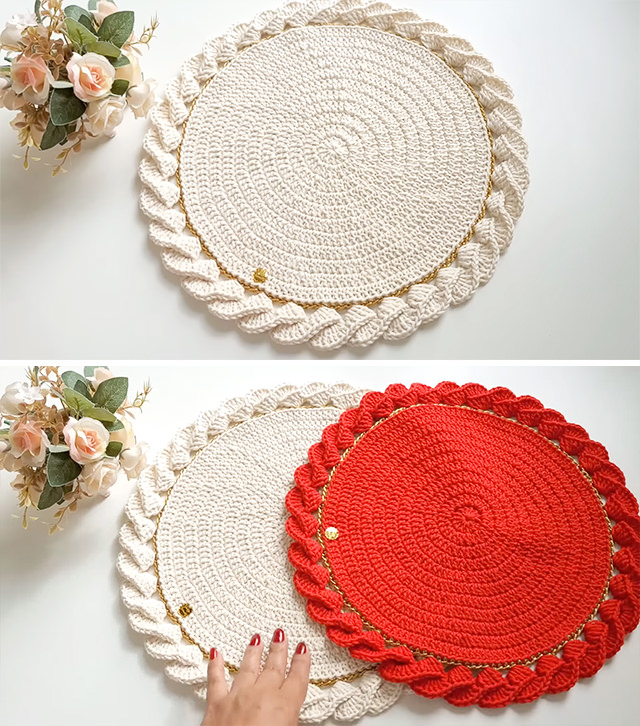
To finish, you can add a border for extra structure or even fringe for a decorative flair. We’ll also guide you through weaving in your ends neatly and blocking your placemat so it lays flat. Whether you make one or a full matching set, handmade placemats bring charm and personality to every meal. Ready to get started? Grab your hook and let’s make something beautiful together.
Tutorial and photos of this crochet placemat by: Vanessa Marcondes.