Yesss! 🙌 A Crochet C2C (Corner-to-Corner) Moss Stitch Rectangle Blanket is a chef’s kiss combo of technique and texture—super beginner-friendly, very rhythmic, and customizable for any size. It’s perfect if you want a clean, modern blanket with beautiful drape and subtle texture.
What Is It?
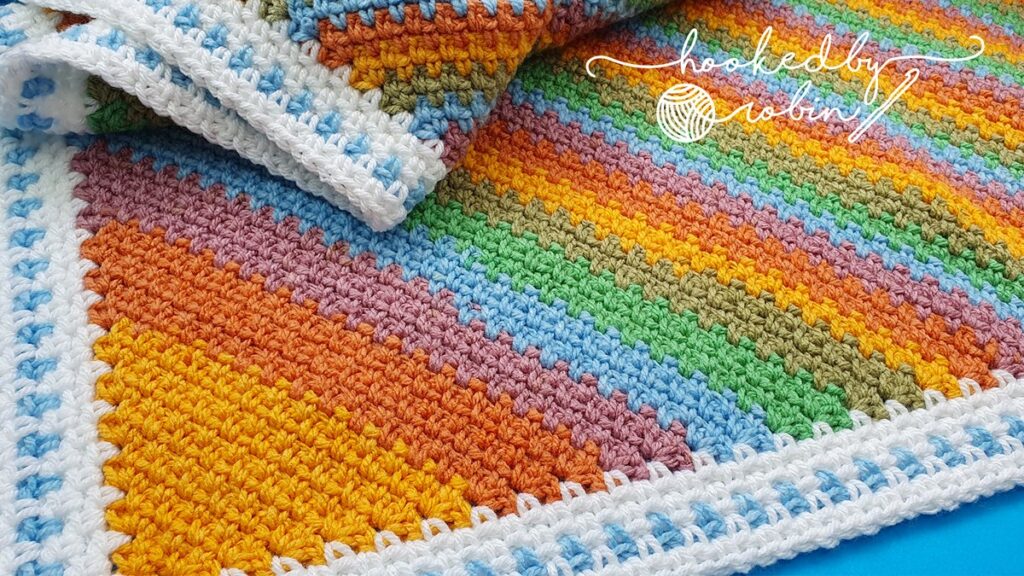
This blanket uses the Moss Stitch (aka linen stitch or granite stitch) worked in a corner-to-corner rectangle shape. Instead of the usual square C2C blanket, you’re shaping it into a rectangle, which is perfect for throws, baby blankets, or shawls.
🔹 Moss Stitch = (sc, ch 1, skip 1)
It creates a lightly textured, woven look that works beautifully in solids, stripes, or gradient yarns.
Construction: How It Works
In C2C Moss Stitch, you’re increasing on both sides until you reach your desired width and height, then start decreasing to form the rectangle.
🧵 Basic Construction Steps:
- Start in one corner (usually lower left).
- Increase both sides:
- Each row grows by 1 moss stitch on each side.
- Once your width is reached, increase on one side only and keep the other flat (to elongate into a rectangle).
- When your desired length is reached, decrease both sides to taper off and finish.
Sample Pattern Breakdown
🔸 Setup:
- Start with ch 4
- Row 1: Sc in 2nd ch from hook, ch 1, skip 1, sc in last ch (this makes your first moss row)
🔸 Increase Rows:
- Ch 3 (counts as sc + ch 1), turn
- Sc in first ch-1 space, ch 1, sc in next ch-1 space across
Repeat until desired width.
🔸 Straight Rows (for rectangle shaping):
- Increase only on one side, and do not increase on the opposite side (just turn and work flat).
🔸 Decrease Rows:
- Skip the first ch-1 space, work moss pattern across, ending before the last ch-1 space
Yarn, Hook, and Design Tips
Yarn: Works with all weights, but DK or worsted is best for a cozy throw
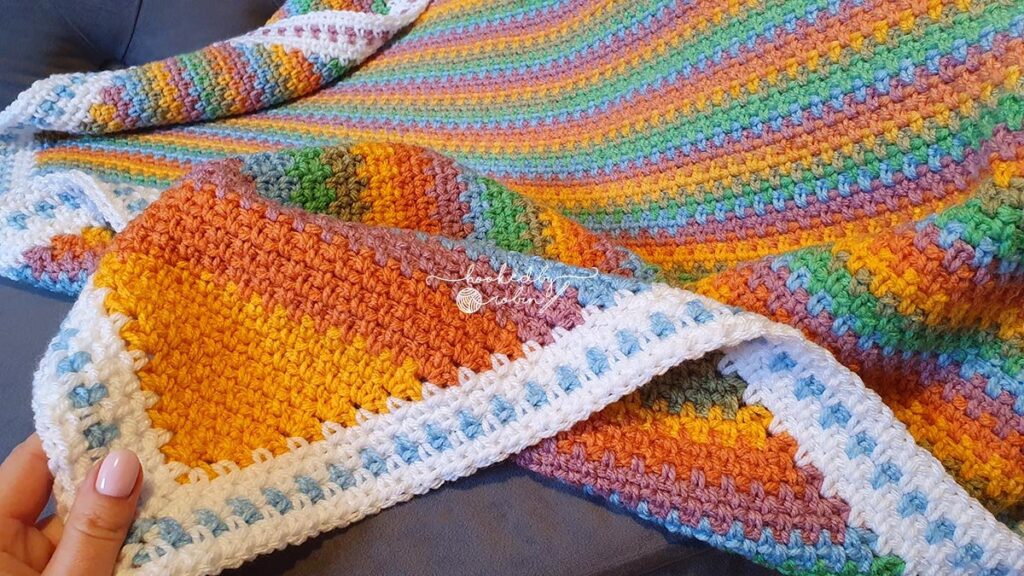
Hook: Go one size up from what your yarn suggests (for nice drape)
Colors:
- Solid for a minimalist vibe
- Self-striping or gradient yarn for effortless color play
- Stripes or stash buster for a scrappy look
Sizing Tips (for Rectangles)
Let’s say you want a 40″x60″ blanket:
- Increase both sides until your piece measures 40″ wide
- Then, only increase on one side and go straight on the other until it’s 60″ long
- Finally, decrease both sides to bring it to a point
💡 Use stitch markers on the “flat” side to remember where not to increase!
Bonus Ideas
- Add a scalloped or picot border for flair
- Use double-stranded yarn for a thicker, chunkier texture
- Try a fade effect with ombre yarn cakes
Thank you for visiting us!!!!
Credit to Hooked by Robin