Crocheting a mini granny square blanket is a fun and rewarding project that’s perfect for beginners. It starts with learning how to make a basic granny square, which is typically made using double crochet stitches worked in clusters, with chain spaces to form the square shape. Each mini square is started with a magic ring or a few chains joined in a loop, followed by rounds of double crochet clusters separated by chain stitches. These mini squares are small, quick to make, and great for practicing your tension and stitch consistency.

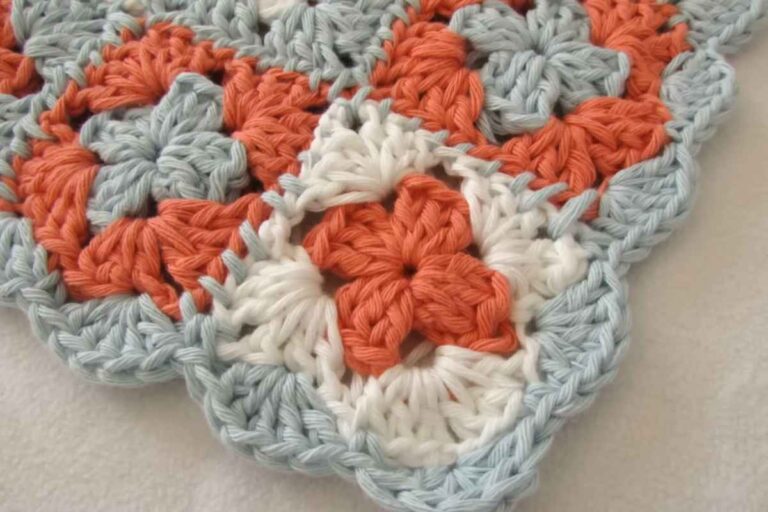
Once you’ve made your desired number of mini granny squares, you can begin arranging them in a layout that suits your blanket size and color pattern. The squares are usually joined together using simple techniques like whip stitch, slip stitch, or single crochet. Joining as you go is also an option if you prefer to connect them while working the final round of each square. It’s important to lay out your squares beforehand to get the best visual balance, especially if you’re using multiple colors.
After joining the squares, the blanket is finished off with a border, which helps frame the design and give it a polished look. A simple border can be made with single or double crochet rounds, and you can add extra rows in different colors if desired. This project is perfect for using up leftover yarn and allows for endless customization. Even with basic crochet skills, you can create a charming and cozy mini granny square blanket that makes a beautiful handmade gift or keepsake.
Pattern and tutorial by WoolyWondersCrochet