Here’s a simple baby hat knitting pattern using 2 straight needles. This pattern is for a basic ribbed hat, perfect for beginners!
Materials:
- Yarn: Worsted weight yarn (approximately 100 yards)
- Needles: US size 8 (5mm) straight needles
- Tapestry needle (for sewing up the seam)
- Scissors
Gauge:
- 4 inches = 18 stitches and 24 rows in stockinette stitch.
Abbreviations:
- CO = Cast on
- K = Knit
- P = Purl
- K2tog = Knit 2 together (decrease)
- P2tog = Purl 2 together (decrease)
- BO = Bind off
Instructions:
1. Cast On:
- CO 64 stitches.
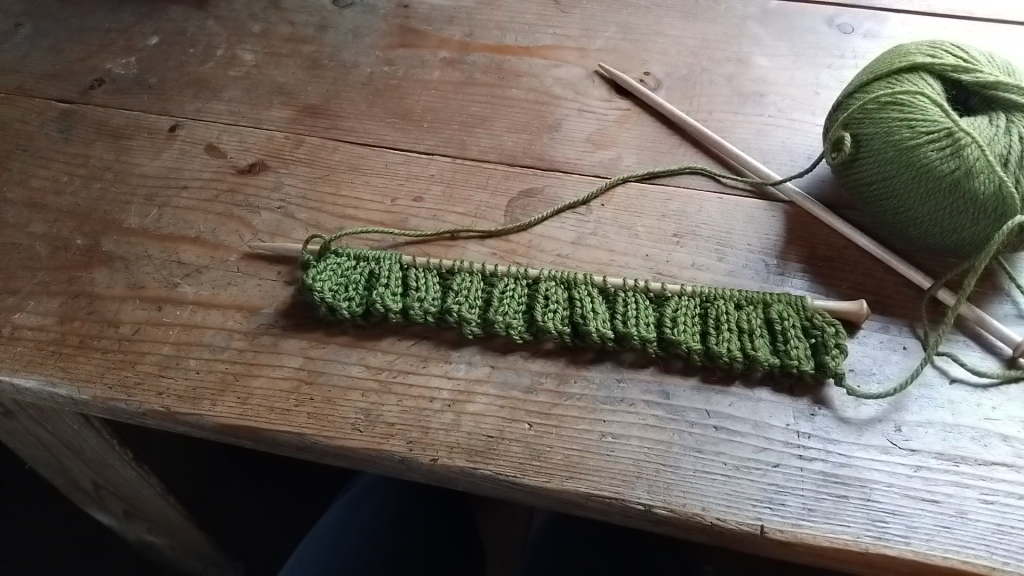
2. Ribbing (Brim):
- Row 1 (Right Side): K2, P2 across the row.
- Row 2 (Wrong Side): K2, P2 across the row.
- Repeat these two rows until the brim is approximately 2-2.5 inches long.
3. Main Body of the Hat:
- Switch to stockinette stitch (knit every row) for the main body of the hat.
- Continue knitting every row until the hat measures about 5 inches from the cast-on edge (or desired length to the top of the head).
4. Decreasing:
- Begin decreasing to shape the crown of the hat:
- Row 1 (Right Side): K6, K2tog across the row. (You should have 56 stitches.)
- Row 2 (Wrong Side): Knit all stitches.
- Row 3 (Right Side): K5, K2tog across the row. (You should have 48 stitches.)
- Row 4 (Wrong Side): Knit all stitches.
- Row 5 (Right Side): K4, K2tog across the row. (You should have 40 stitches.)
- Row 6 (Wrong Side): Knit all stitches.
- Row 7 (Right Side): K3, K2tog across the row. (You should have 32 stitches.)
- Row 8 (Wrong Side): Knit all stitches.
- Row 9 (Right Side): K2, K2tog across the row. (You should have 24 stitches.)
- Row 10 (Wrong Side): Knit all stitches.
- Row 11 (Right Side): K1, K2tog across the row. (You should have 16 stitches.)
- Row 12 (Wrong Side): Knit all stitches.
- Row 13 (Right Side): K2tog across the row. (You should have 8 stitches left.)
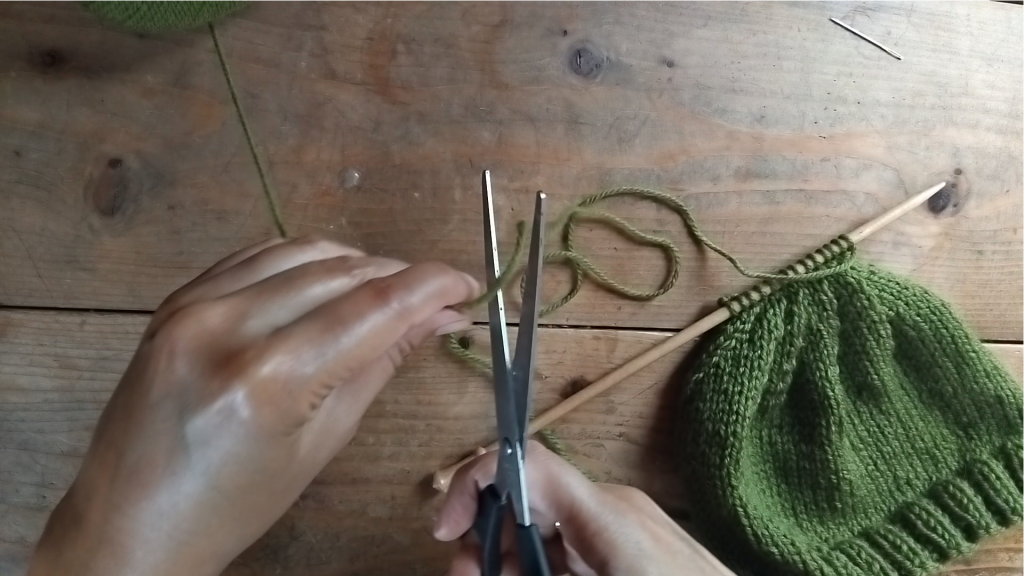
5. Finish the Hat:
- Cut the yarn, leaving a 6-inch tail.
- Using a tapestry needle, thread the yarn tail through the remaining 8 stitches and pull tight to close the top of the hat.
- Sew the side seam together using the mattress stitch or whip stitch.
6. Weave in Ends:
- Weave in any loose ends using a tapestry needle.
Optional:
- Add a pom-pom to the top of the hat for an extra touch!
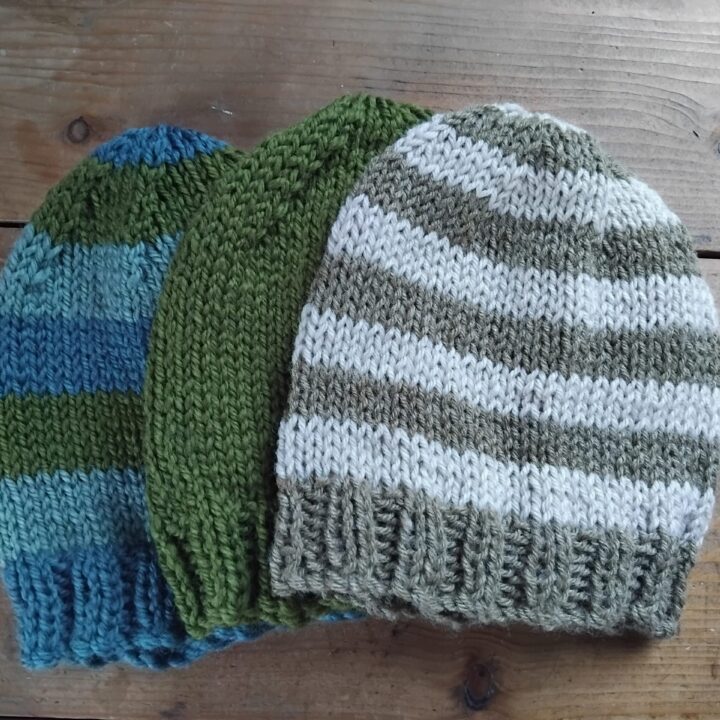
Once you’ve finished knitting the hat, take a moment to admire your work! The combination of the simple ribbed brim and the smooth stockinette body creates a cozy, stretchy fit perfect for keeping a little one’s head warm. The decreases at the crown form a lovely rounded shape, while the soft yarn ensures comfort. Whether you’re gifting it or using it for your own little one, this hand-knitted baby hat is sure to be a cherished and practical piece.
Enjoy your new cozy baby hat!